Welcome to Quickbase-Client’s documentation!
Quick Start
Installation
Installation can be done through pip:
pip install quickbase-client
This will install both the library quickbase_client, and a command line tool qbc for
running some handy scripts.
Generating your Models
To interact and authenticate with your Quickbase applications you need a User Token. You can read
the Quickbase documentation here on how to create one.
It is recommended to set an environment variable QB_USER_TOKEN with this value:
export QB_USER_TOKEN=mytokenfromquickbase;
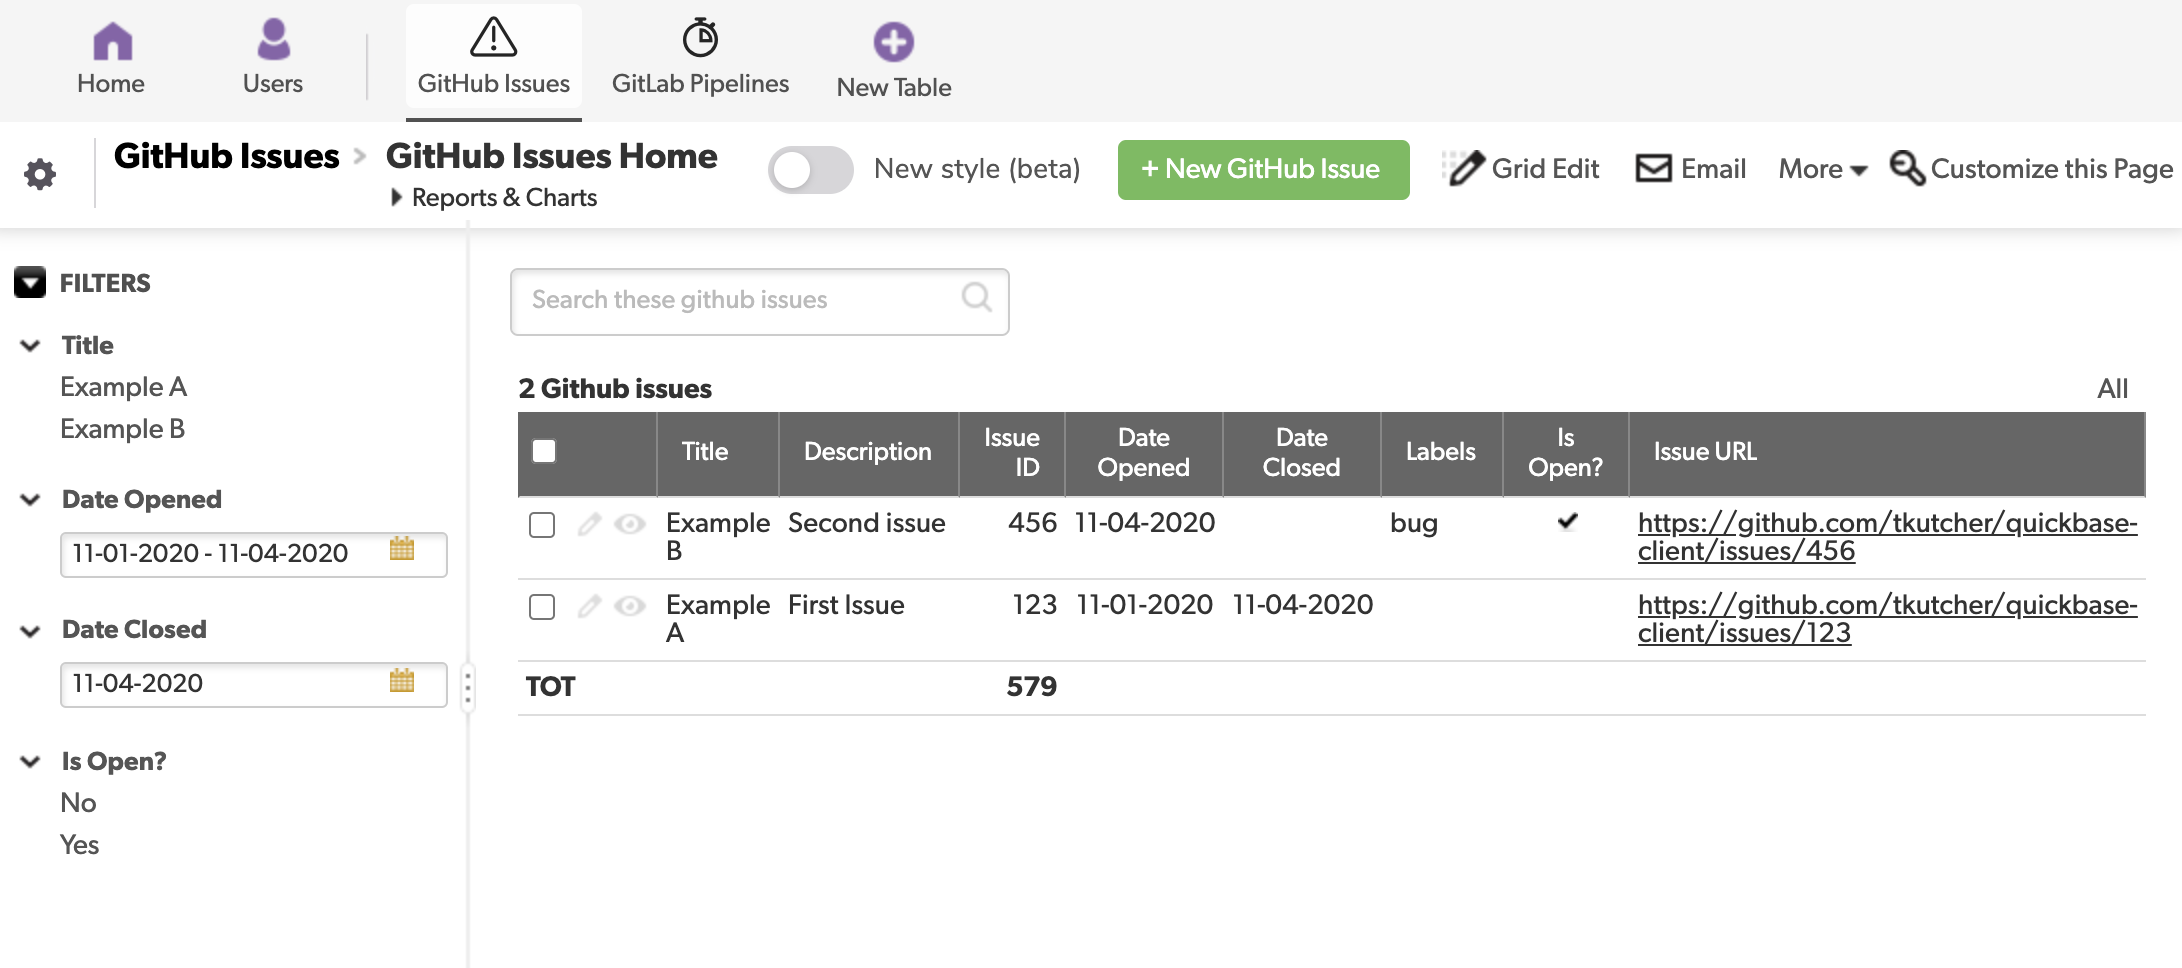
Next, say you have a hypothetical Quickbase Application named MyApp at
https://foo.quickbase.com/db/abcdef that has tables for tracking things
against a repository like Issues & Pipelines.

Running the following:
qbc run model-generate -a https://foo.quickbase.com/db/abcdef
Would generate a directory structure like
models
├── __init__.py
└── my_app
    ├── __init__.py
    ├── app.py
    ├── github_issue.py
    └── gitlab_pipeline.py
And classes like GitHubIssue where you can interact with the data model through a Python object.
Writing Records to Quickbase
Classes like GitHubIssue that subclass QuickbaseTable also get a factory class-method
client(user_tok) which creates an instance of the higher-level QuickbaseTableClient to
make API requests for things related to that table:
client = GitHubIssue.client(user_tok=os.environ['QB_USER_TOKEN'])
new_issue = GitHubIssue(
    title='Something broke',   # you get friendly-kwargs for fields without worrying about ID's
    description='Please fix!',
    date_opened=date.today()   # things like Python date objects will be serialized
)
response = client.add_record(new_issue)
print(response.json())  # all methods (except for query) return the requests Response object
Querying Records from Quickbase
You can also use the client object to send queries to the Quickbase API through the query
method. This method will serialize the data back in to a Python object. The query method on the
table class takes a QuickbaseQuery object which is high level wrapper around the parameters
needed to make a query.
Notably, the where parameter for specifying the query string. There is one (and in the future
there will be more) implementation of this which allows you to build query-strings through
higher-level python functions.
You can use the methods exposed in the quickbase_client.query module like so:
# convention to append an underscore to these methods to avoid clashing
# with any python keywords
from quickbase_client.query import on_or_before_
from quickbase_client.query import eq_
from quickbase_client.query import and_

schema = GitHubIssue.schema
q = and_(
    eq_(schema.date_opened, schema.date_created),
    on_or_before_(schema.date_closed, date(2020, 11, 16))
)
print(q.where)  # ({'9'.EX.'_FID_1'}AND{'10'.OBF.'11-16-2020'})
recs = client.query(q)  # recs will be GitHubIssue objects unless passing raw=True
print([str(r) for r in recs])  # ['<GitHubIssue title="Made And Closed Today" id="10000">']
Controlling Lower-Level API Calls
Lastly, say you want to deal with just posting the specific json/data Quickbase is looking for.
The QuickbaseTableClient object wraps the lower-level QuickbaseApiClient object which has
methods for just sending the actual data (with an even lower-level utility
QuickbaseRequestFactory you could also use). These classes manage hanging on to the user token,
and the realm hostname, etc. for each request that is made.
For example, note the signature of query in QuickbaseApiClient:
def query(self, table_id, fields_to_select=None, where_str=None,
          sort_by=None, group_by=None, options=None):
You can get to this class by going through the table client: api = client.api, or from
instantiating it directly api = QuickbaseApiClient(my_user_token, my_realm)
With this, we could make the exact same request as before:
api = QuickbaseApiClient(user_token='my_token', realm_hostname='foo.quickbase.com')
response = api.query(
    table_id='abcdef',
    where_str="({'9'.EX.'_FID_1'}AND{'10'.OBF.'11-16-2020'})")
data = response.json()